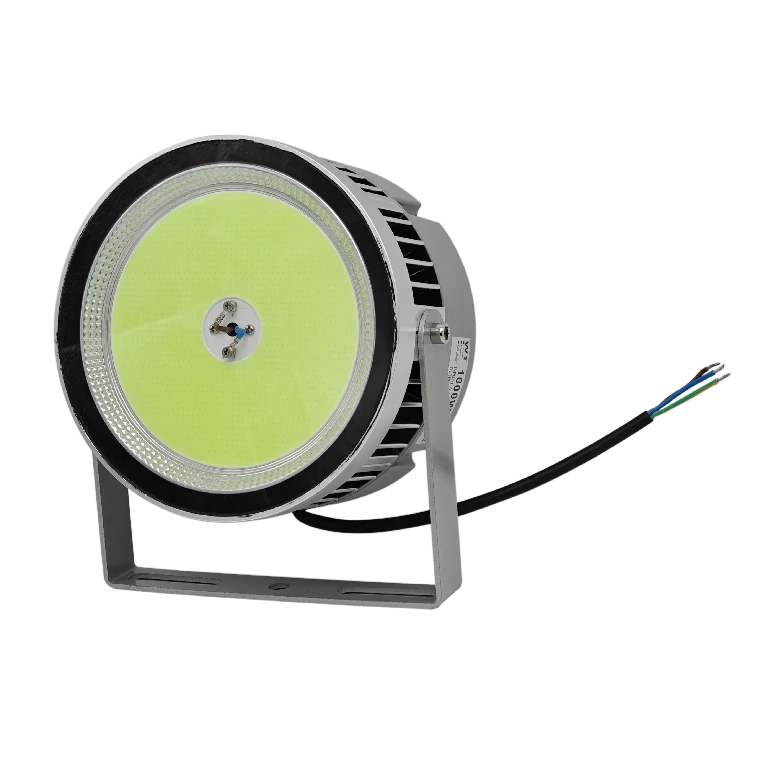
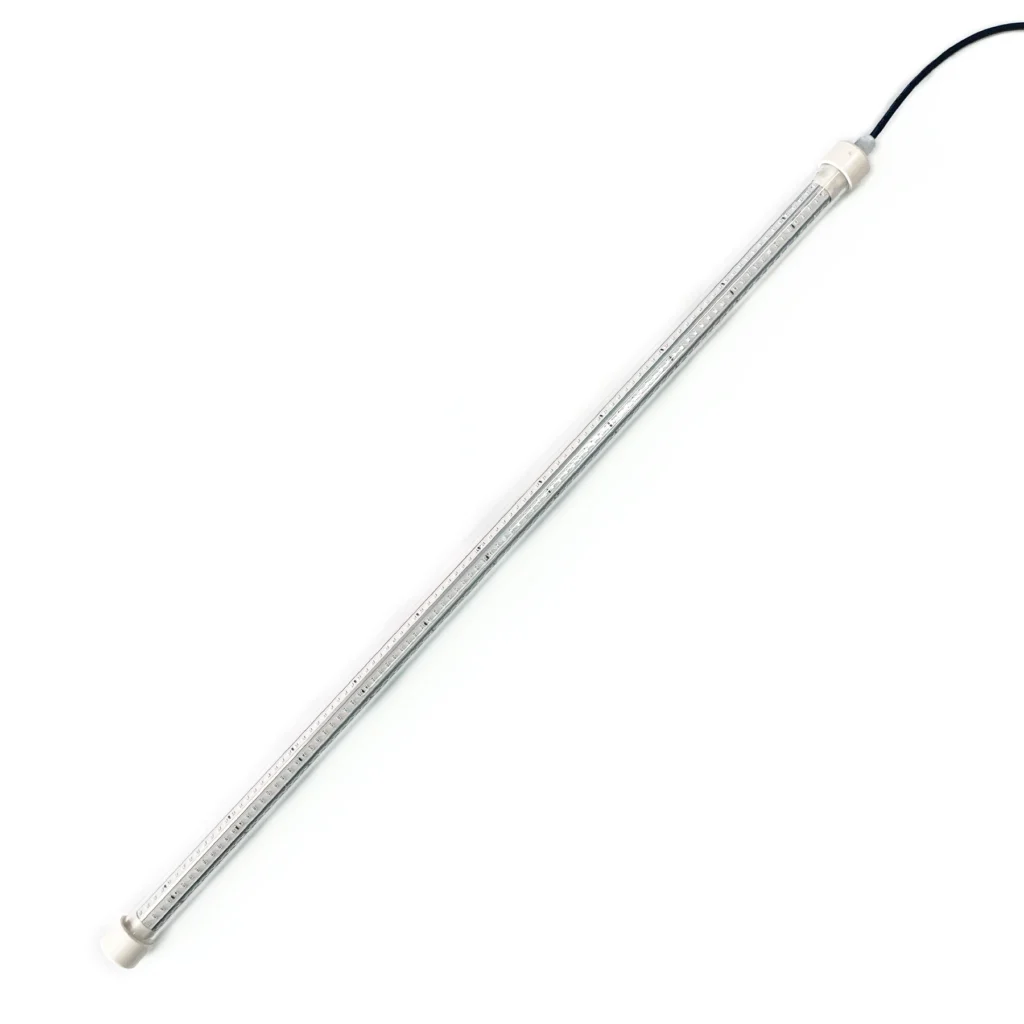
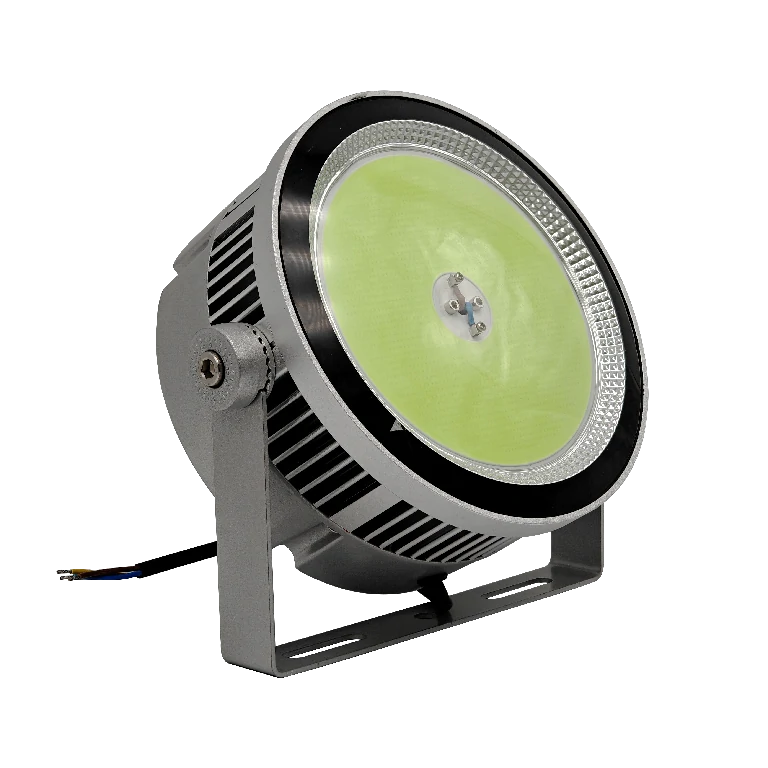
When an underwater fishing light fails, do not open the housing or fit a larger fuse. Identify the symptom, isolate the power and work from the battery toward the light. A dead unit, steady dim output and cable-related flicker usually point to different parts of the system.
These checks are for portable, low-voltage fishing lights used from boats, kayaks, docks or shorelines. Stop if you find internal water, exposed conductor, melted insulation, a burning smell, a hot or swollen battery, or repeated protection trips. Those conditions need manufacturer support or a qualified marine electrical technician.
1. Record the Exact Symptom Before Disconnecting Anything
Note what happened and when. Did the light stay off, start and fade, flicker as the cable moved, or stop when another load switched on? Did protection operate? Was it used in fresh or salt water, and was a connection wet? A short video from a safe position and photographs after isolation can help technical support reproduce the problem.
Use the symptom only to choose the next check; it is not proof of the cause.
| Observed symptom | First area to check |
|---|---|
| Completely dead | Power source, polarity, fuse or breaker, main connection |
| Dim but steady | Battery condition, voltage drop, resistive or corroded connection |
| Flickers when cable moves | Plug, switch, connector, cable or strain relief |
| Protection trips repeatedly | Wrong supply, short circuit or internal fault—stop testing |
| Moisture visible inside housing | Seal or enclosure damage—do not energise |
2. Remove the Light from Service and Make the System Dry
Switch off and disconnect the power according to the product instructions before handling connectors or inspecting damage. Move the system to a dry, ventilated place. Do not use a heat gun, drill a drain hole or open a factory-sealed housing; those actions can damage materials, destroy the enclosure’s protection and complicate a warranty assessment.
Only parts specifically identified by the manufacturer for immersion should enter the water. A waterproof light body does not make every battery clip, plug, switch, user-made splice or extension connection submersible. If an unrated connection became wet, leave it disconnected and follow the manufacturer’s cleaning and inspection instructions before considering another test.
3. Confirm the Light and Power Source Actually Match
Read the label and current product instructions rather than relying on the connector shape. Confirm the specified input voltage, DC or AC supply type, polarity where applicable, and approved connection method. Never assume that a plug fitting into a socket means the electrical supply is compatible.
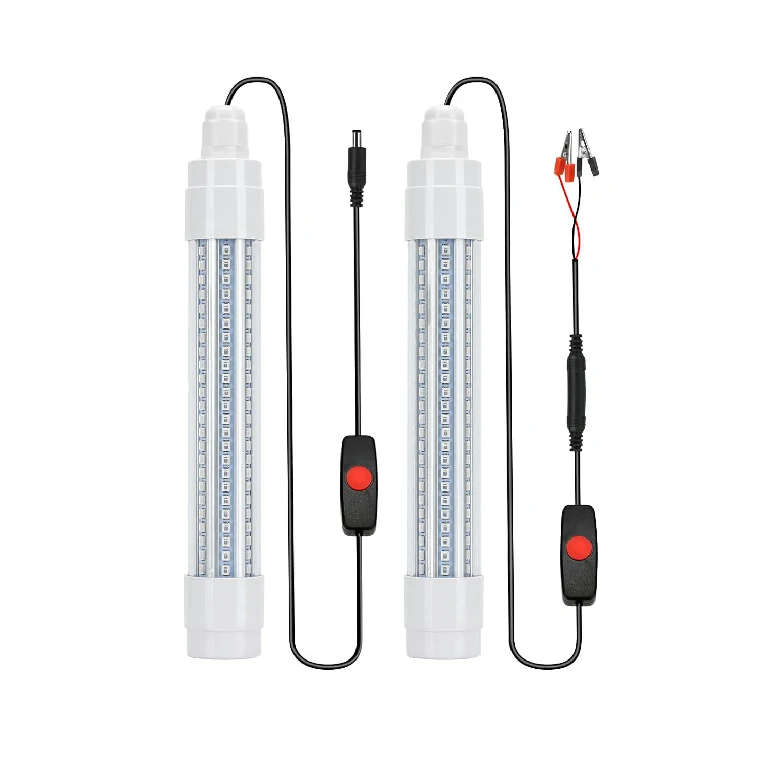
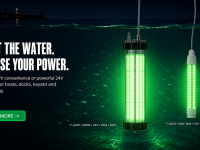
For example, Lurebeam currently lists the F-UD01 12V underwater fishing light in 13 W and 16 W versions. Its page specifies DC 12 V input, a standard 5 m (16.4 ft) cord, alligator-clip or DC-plug power input, and an inline switch. Those details apply to that model only. Do not connect it to a 24V source, mains supply or an unverified adapter. If the label, manual and online page disagree, keep the product disconnected and ask the supplier to identify the correct revision.
4. Check the Battery as a Source, Not Just a Number
A battery can show normal no-load voltage yet fall under load because it is discharged, aged, damaged or poorly connected. Follow the battery manufacturer’s procedure to check charge and terminals. If competent and permitted by the instructions, compare supply behaviour before and during operation with suitable equipment. Otherwise, use a known-good compatible source or ask a technician.
Keep terminals secured and protected against accidental short circuits. Do not create sparks beside a battery, bridge terminals with tools or substitute a battery chemistry with a different charging and protection requirement. Australia’s AMSA electrical-safety guidance recommends monitoring battery condition and charge status and following manufacturer instructions; it also identifies wet environments, damaged insulation and corrosion as causes of electrical malfunction and fire risk.
5. Trace Every Dry-Side Connection and Protective Device
With power isolated, follow the circuit from battery to light. Check terminals, clips, plug, switch and connectors for salt residue, corrosion, bent contacts, looseness, heat discolouration or damaged insulation. A connection can look intact yet develop resistance when loose or corroded.
Inspect the specified fuse or breaker, but do not bypass it or replace it with a higher rating to “see if the light works.” Repeated operation indicates a fault that must be found. UK government boat fire-safety guidance advises using the correct fuse or circuit breaker and switching off power when damaged wiring, scorch marks, burning smells, buzzing, fizzing or crackling indicate a problem. Cleaning, replacement parts and terminal treatments should follow the equipment manufacturer’s instructions.
6. Inspect the Cable, Strain Relief and Sealed Housing
Inspect the disconnected cable without repeatedly bending a damaged area. Look for cuts, flat sections, swelling, stiffness, abrasion or abnormal movement where it enters the housing. Check the lens and enclosure for cracks, separation, impact marks or internal moisture. Cable-related flicker is a location clue, but continued flexing can worsen damage.
The IEC 60529 IP Code classifies protection provided by electrical-equipment enclosures. An IP68 marking is therefore evidence about the rated enclosure under defined conditions, not a promise that a damaged product, every attached component or every improvised connection remains protected. Do not open a sealed fishing light to continue the diagnosis unless the manufacturer provides a service procedure for that exact model.
7. Perform One Controlled Retest—or Stop
After correcting only a clear, permitted issue—such as charging the correct battery or reseating an approved dry connector—reassemble the system exactly as instructed. Some submersible equipment has limits on operation outside water, so do not conduct a prolonged dry test unless the manual expressly allows it. Arrange all non-immersible connections in a dry, protected position and follow the specified sequence for deployment and energising.
If the original fault remains, power down and stop. Record the model, serial or batch information, supply type, observed voltage if safely measured, water type, operating time before failure, protective-device behaviour and photographs. Give that information to the supplier or manufacturer. A concise fault record is more useful than opening the housing or trying several unapproved power sources.
When Troubleshooting Must End
Stop and obtain qualified help when there is internal moisture, exposed copper, a damaged seal or cable entry, melting, scorching, unusual heat, battery swelling, smoke, chemical odour, repeated fuse or breaker operation, or any uncertainty about vessel wiring. The same applies when repair would require opening a sealed enclosure or modifying a fixed boat circuit. The U.S. Coast Guard electrical-systems guide explicitly warns that its federal compliance guidance is not a complete boat-system engineering manual; local requirements and current marine standards still matter. For Australia, Europe and individual US states, follow the rules and competent-person requirements that apply where the vessel operates.
Conclusion
Effective underwater fishing light troubleshooting follows a direction: document the symptom, isolate power, verify compatibility, test the source, trace dry-side connections, inspect the cable and enclosure, and perform no more than one justified retest. The goal is not to force the light back on. It is to separate a simple connection problem from damage that requires service—without creating a larger electrical or water-ingress risk.
Frequently Asked Questions
Can an IP68 underwater fishing light still fail from water ingress?
Yes. The rating applies to the tested enclosure and conditions. Impact damage, an aged or displaced seal, cable-entry damage, improper assembly or an unrated attached connection can change the protection of the system. Visible internal moisture is a stop-use condition, not a reason to keep testing.
Can I install a larger fuse if the fishing light keeps blowing one?
No. Do not bypass or increase a protective-device rating unless the manufacturer’s documented design and a qualified technician specifically require a correction. A recurring trip can indicate a short circuit, wrong supply, damaged cable or internal fault. Isolate the system and find the cause.
Is it safe to test a submersible fishing light out of the water?
Only if the instructions for that exact model permit it, and only for the stated duration and conditions. Some underwater equipment has operating or cooling limits outside water. When the manual is unclear, ask the manufacturer rather than improvising a bench test.
Why does my fishing light flicker when I move the cable?
That pattern suggests an intermittent connection near a plug, switch, connector, damaged conductor or strain-relief area, but it does not identify the exact failed part. Disconnect power and inspect the cable path. Do not keep flexing it while energised, because movement can worsen damage or expose a conductor.
What information should I send to the supplier?
Send the exact model and serial or batch reference, purchase date, power-source specification, connection method, symptom and sequence, water type, approximate operating time, whether protection operated, and clear photographs taken after isolation. Do not open the housing merely to provide internal photographs unless authorised.

-1024x1024.webp)